Believe it or not It’s been 15 years since the release of “The Blair Witch Project”, feel old eh? I know I do! Anyway’s to celebrate this anniversary I thought it’d be cool to show you how to make your own infamous “Blair Witch” Cross, so here we go:

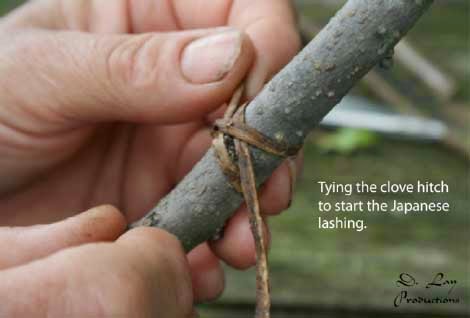
First, you are going to lash or tack the sticks parallel to each other, the straight stick about one to two inches down from the top of the forked stick. To learn about tying a lashing click HERE. Start the lashing with a clove hitch and then cross the “arms” stick perpendicular to the “body” and tie the lashing.

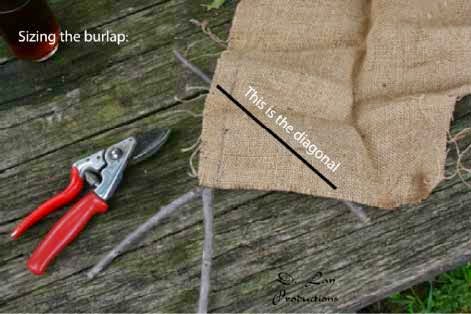
Size the burlap: Set one corner at the fork, and measure the diagonal along the arm.

Once that is done, take the cloth and fold it diagonally from corner to corner. Repeat so the cloth is folded into quarters.
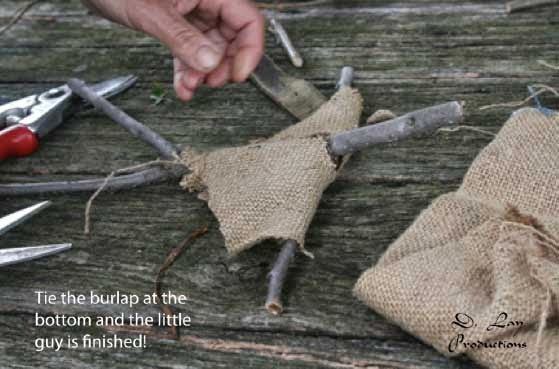
Using scissors, snip the apex of the triangle you’ve formed to make a small hole in the cloth, big enough to slip the “head” of the stick figure through, and unfold the cloth.
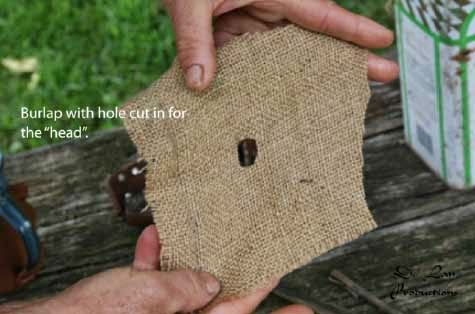
Cut a slit toward one of the corners for the front of the “dress”.

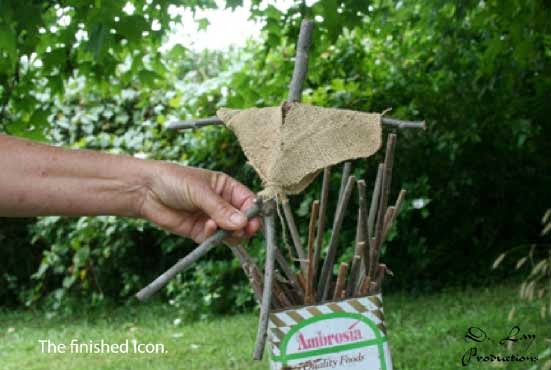
You can make all kinds of versions of the stick figure. If you want to make the exact copy of the Blair Witch icon, you’ll need four straight sticks:
Two to make and “X”, one to tie to two tips of the “X”, and one to make the “head”.
Tie the “X” a little above centre to give the “legs” a longer length.
Tie the “head” to the cross piece and to the intercept of the “X”. These don’t have any cloth, and you have to do a lot more tying.

